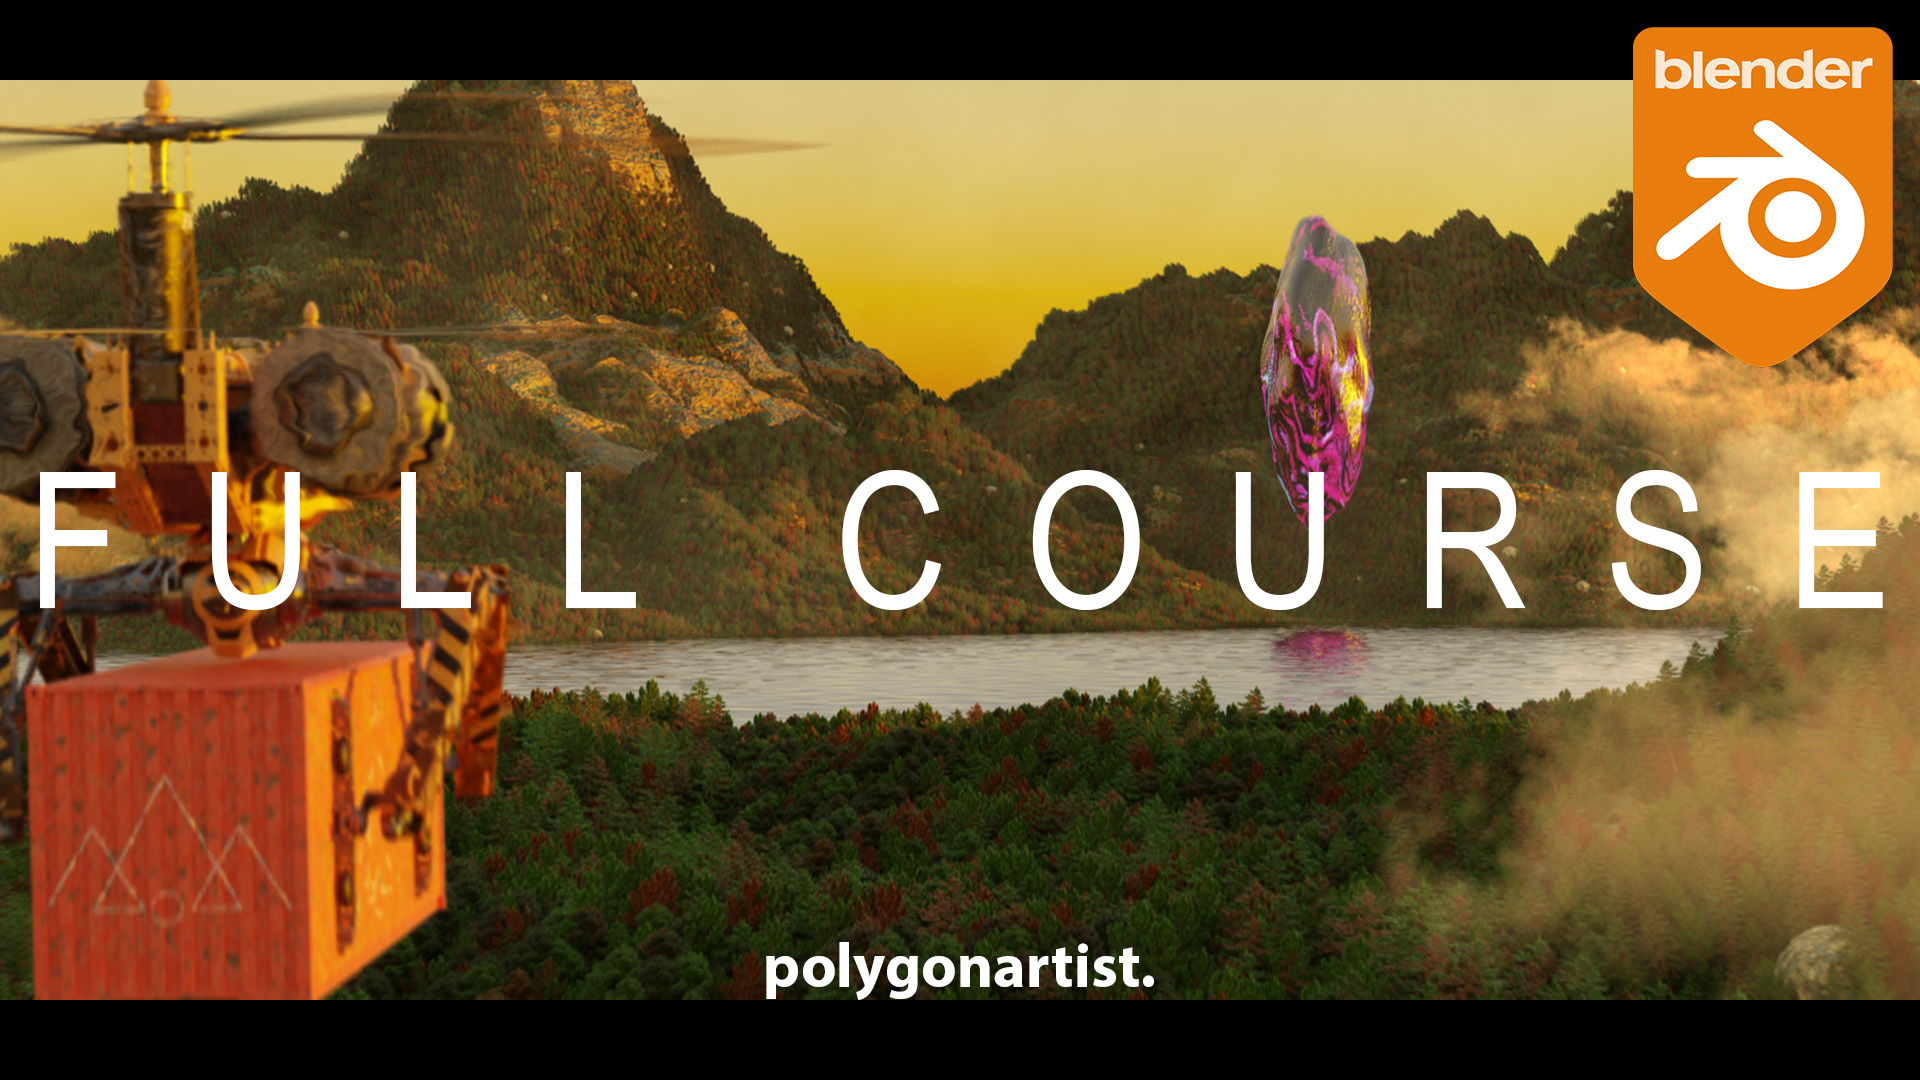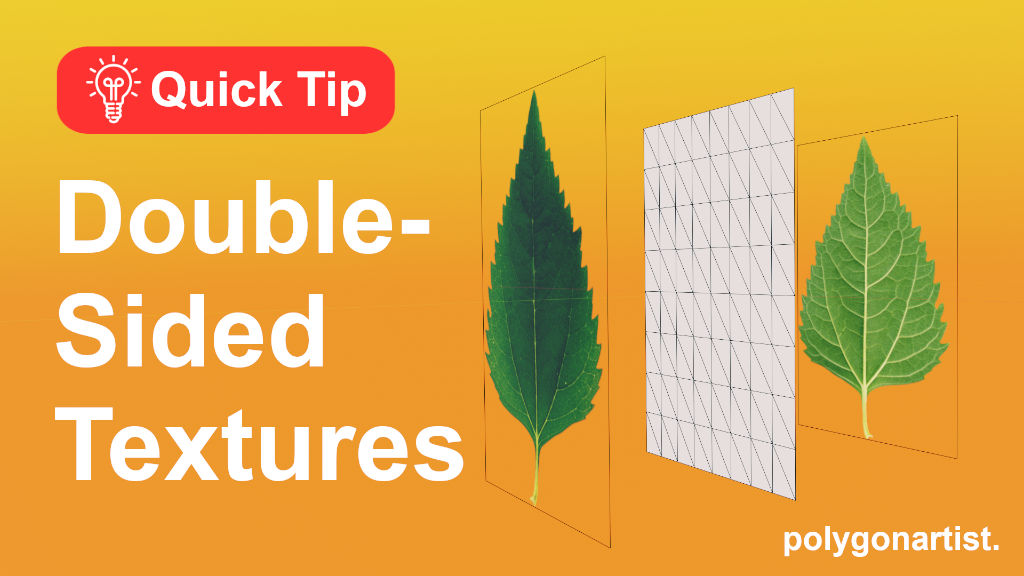
In this Blender 3D tutorial, learn how to create double sided textures. Like many 3D artist, the process of texturing leaves is to find a single image of a leaf and apply as a texture map. Its simple and effective. This is beneficial if the object in your secene is placed away from the active camera as it will reduce your render time. This can reduce the realism of your scene if the object is in the foreground element of your 3D renders. To create realistic plants we need to add double sided textures to the leaves of the plants just like in the real world. Double sided textures are relatively easy to do inside Blender’s Shader editor which in this article you will learn to do. Double sided textures can be used in various other situations not just for texturing leaves.
1. Import Texture As Plane
Import Images as Planes is a free Blender addon that allows images to be import as 3D planes. If you’re not familiar with this method you can learn How To Import Images As Planes In Blender.

2. Browse Texture File
Locate to the folder where you have your texture file stored. Import using the standard setting and make sure you have the ‘Use Alpha’ setting enabled in the import window.
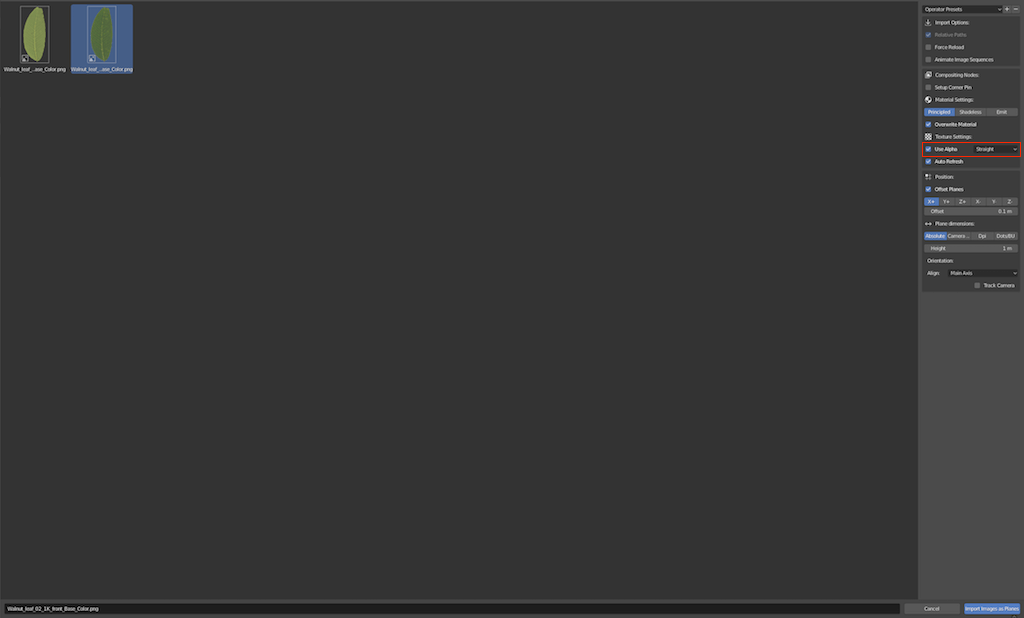
For this article, we’re using the Walnut Leaf 02 texture from cgbookcase.com. Direct link here.
3. Editing Shader Nodes
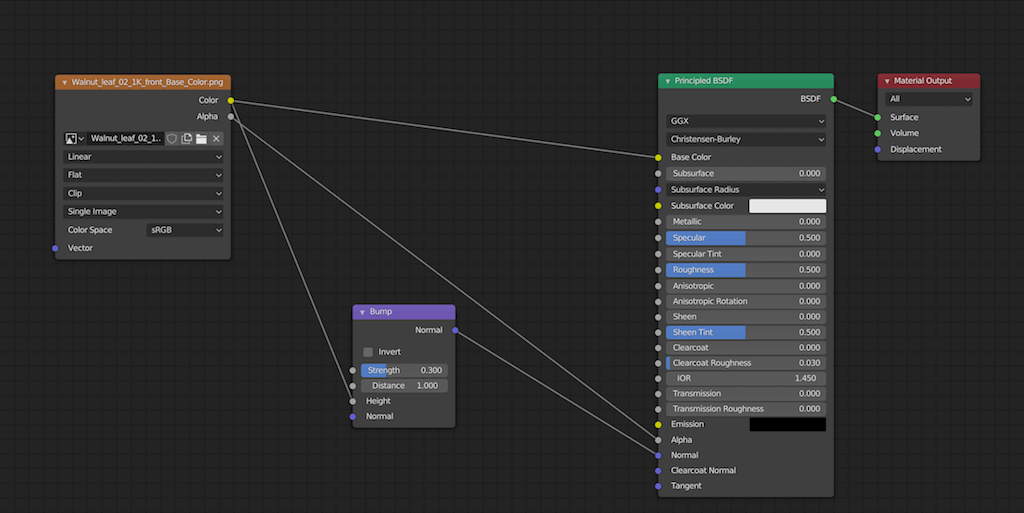
Using the TAB key to enter into editing mode, we can see the UVs and shader nodes in the Shader Editor.

Lets add a Bump node by using SHIFT + A key Vector > Bump. Plug the Color from the image texture to the Bump height and Normal from bump node to Normal on in Principled shader. Set the bump strength from 1.0 to 0.3.
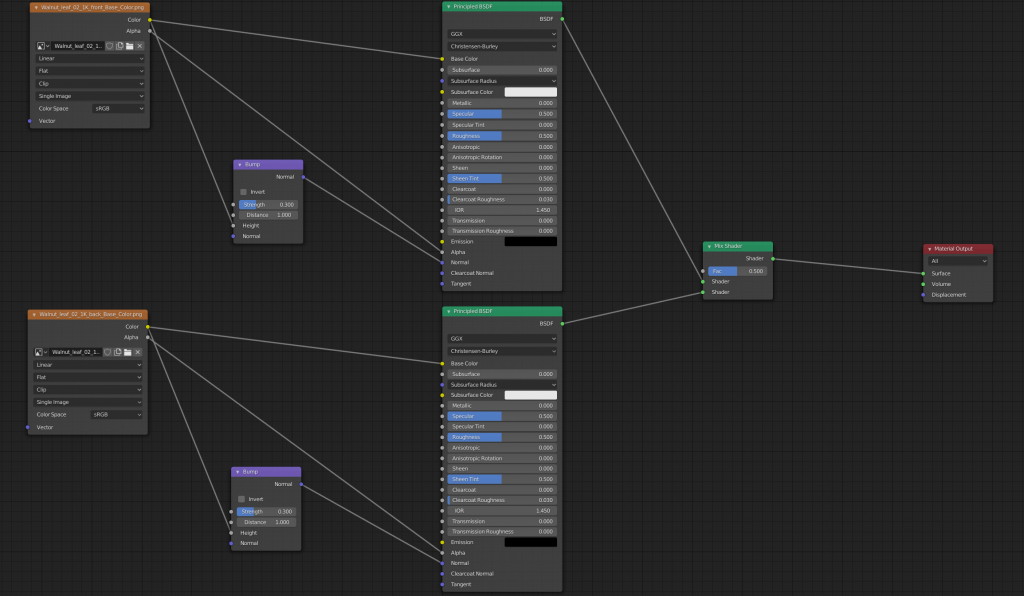
Time to create the other side of our double sided texture. Dublicate: Image Texture, Bump, and Principled shader nodes. On the second Image texture node, use the backfacing texture. Add a Mix Shader node and use the node setup as shown.
To assign our textures to the front and back of our 3D plane we need to add an Geometry node. SHIFT + A > Input > Geometry. Connect the Backfacing output from the Geometry node to the Factor input of the mix node as shown below.
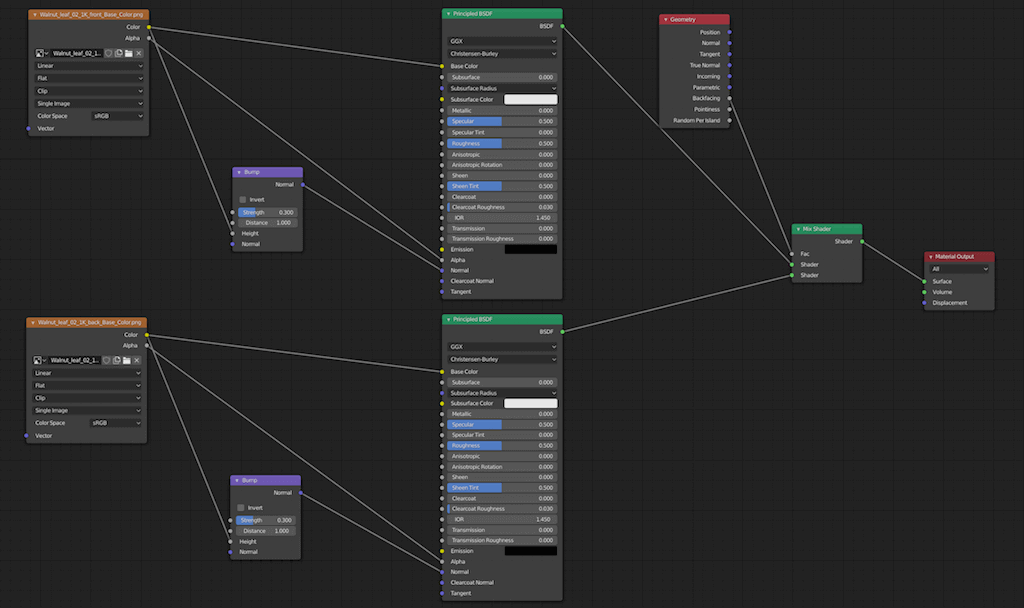
Finally, this node setup will give us a shader which has a double sided texture applied to it. Simple right?