Want to create supercool gradient shader in Blender?
This tutorial uses a simple scene with image planes and few gradient light to demonstrate how to create custom gradient shaders inside Blender 2.93.
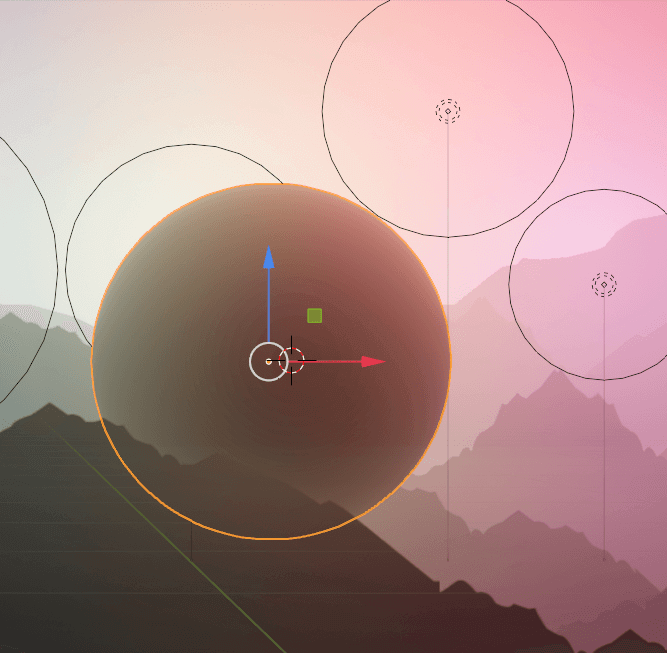
In your Blender scene, select the 3D object that you want to apply a gradient shader to.
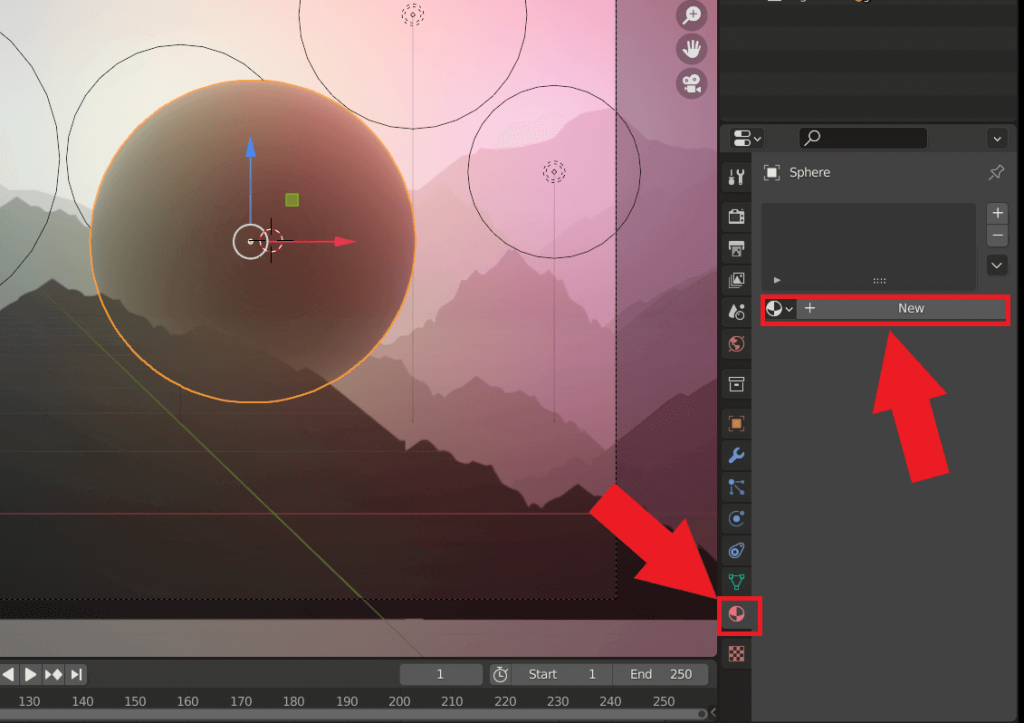
While your active mesh is selected, go over to the Materials tab in the Properties pane and click on create ‘New’ material. This will be our gradient material.
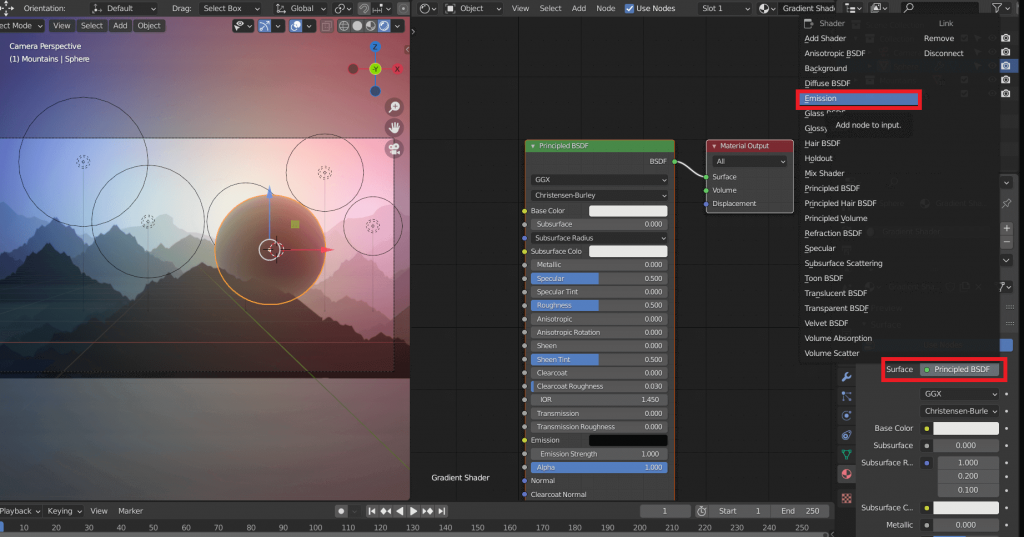
In the properties panel, we’re going to set the surface of the shader to ‘Emission.’ This is purely an artistic choice, this method will also work for Principled and Diffuse surfaces.
Gradient Shader Setup
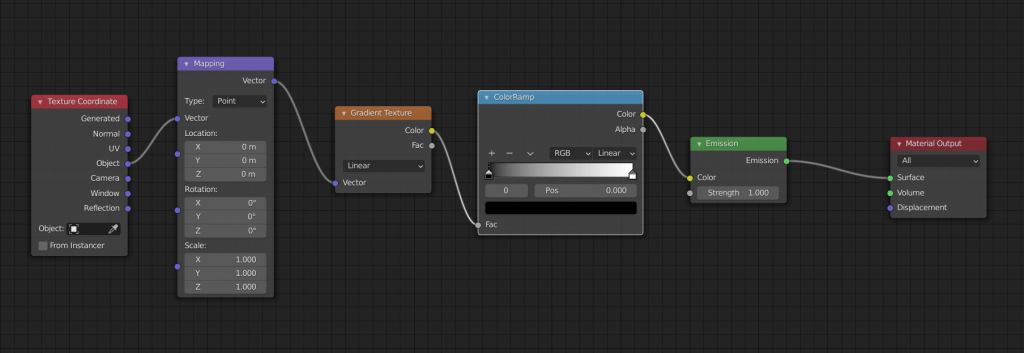
It’s time to setup our shader nodes. Add the following nodes to the shader setup:
- Input → Texture Coordinates
- Vector → Mapping
- Texture → Gradient Texture
- Converter → ColorRamp
Use the shader setup shown above to setup the shader nodes.
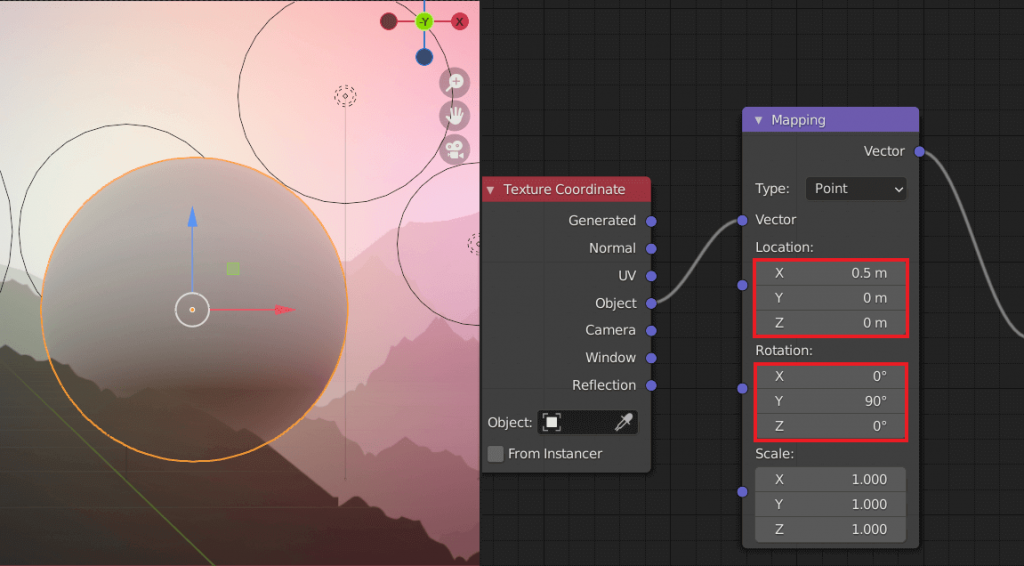
Depending on your scene/object you may need to tweak the way gradient is orientated on your object. To adjust the orientation of the gradient tweak the XYZ Rotation in the Mapping node of the gradient material. You may also need to adjust the Location of the gradient. This is to adjust where the gradient starts and ends on your 3D object.

To add colors to your gradient shader, use the ColorRamp node in the shader setup. By using the + and – buttons in the ColorRamp you can add or remove colors from the ramp. Use colors of your choice.

Set the interpolation mode to B-Spline. This is because the B-Spline interpolation smoothes the transition between the colors, giving a much better effect.

Depending on your 3D scene and lighting, you may have to adjust the intensity of the gradient material. To do this, adjust the Strength setting in the Emission node of your shader setup.
If this post was helpful, please consider becoming a email subscriber 💌 and help support future content. 🠗🠗