Environment maps or HDRI maps are one of the most efficient and quickest way to light your 3D scene and achieve realistic results in Blender. HDRIs are essentially a snapshot of the the real world lighting which contain accurate lighting detail through high dynamic range imaging (HDRI). A HDRI is usually a 360° panoramic photograph that contains brightness information (dark to very bright) in a 32bits per pixel channel. We can use this detailed photograph to emit light onto our objects in 3D space to achieve accurate lighting resulting in more realistic 3D renders.
Adding HDRI Environments In Blender
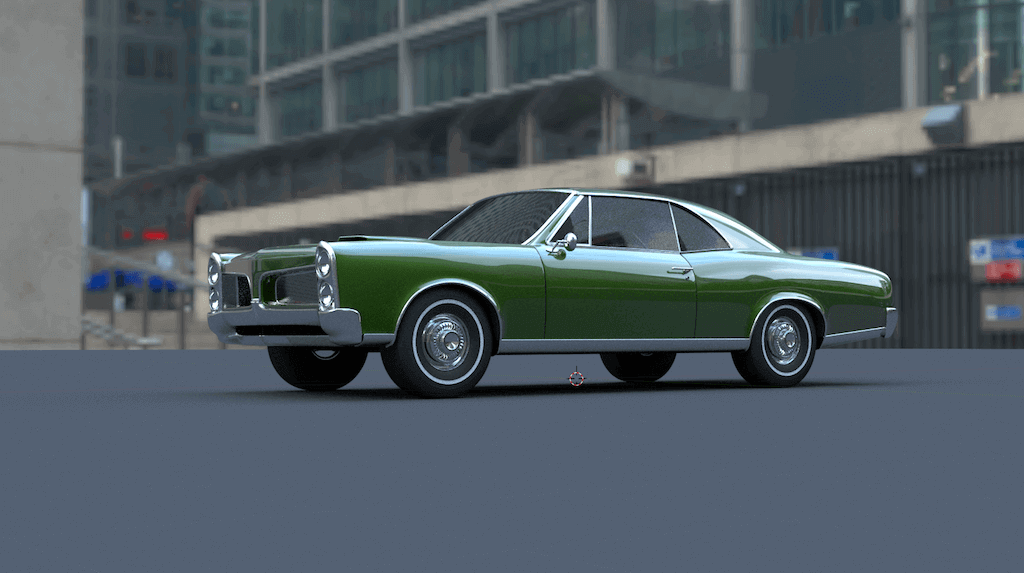
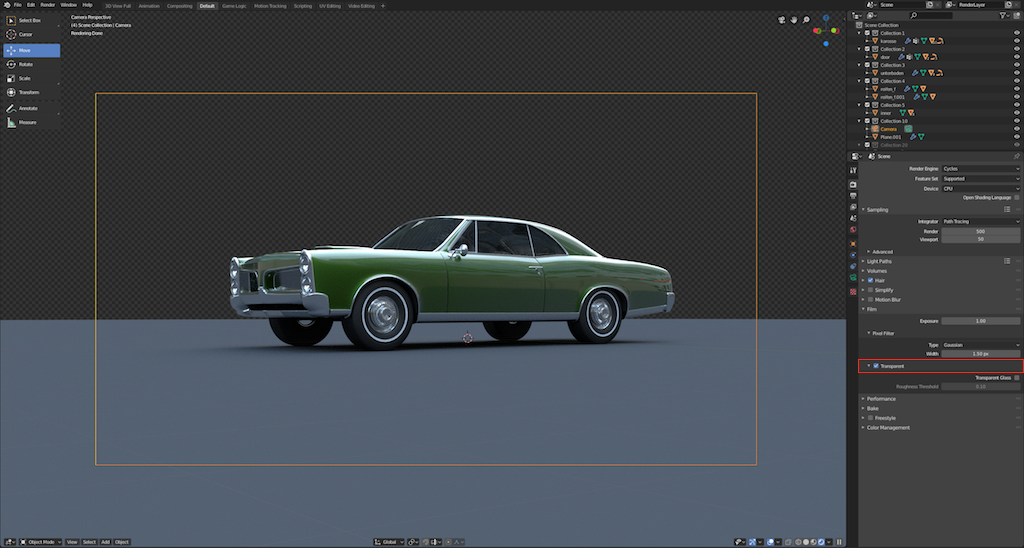
Together with having a basic knowledge of HDRI environment maps, lets get started on using one in our scene. We’re using the Pontiac GTO 67 model that’s available on Blendswap here. In Properties Editor panel, select the World tab.
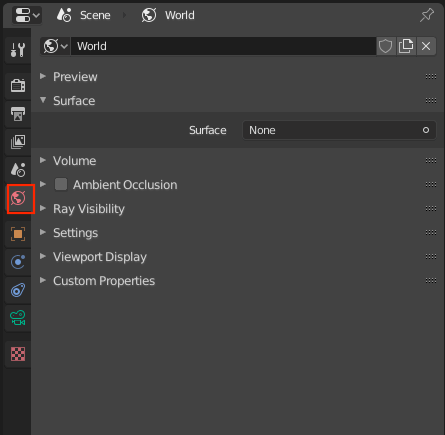
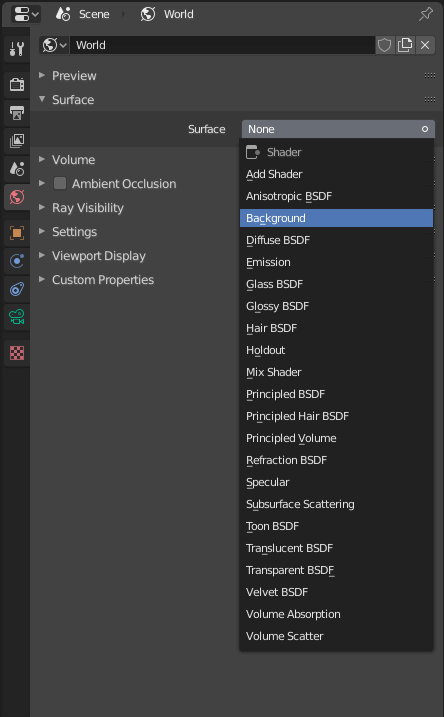
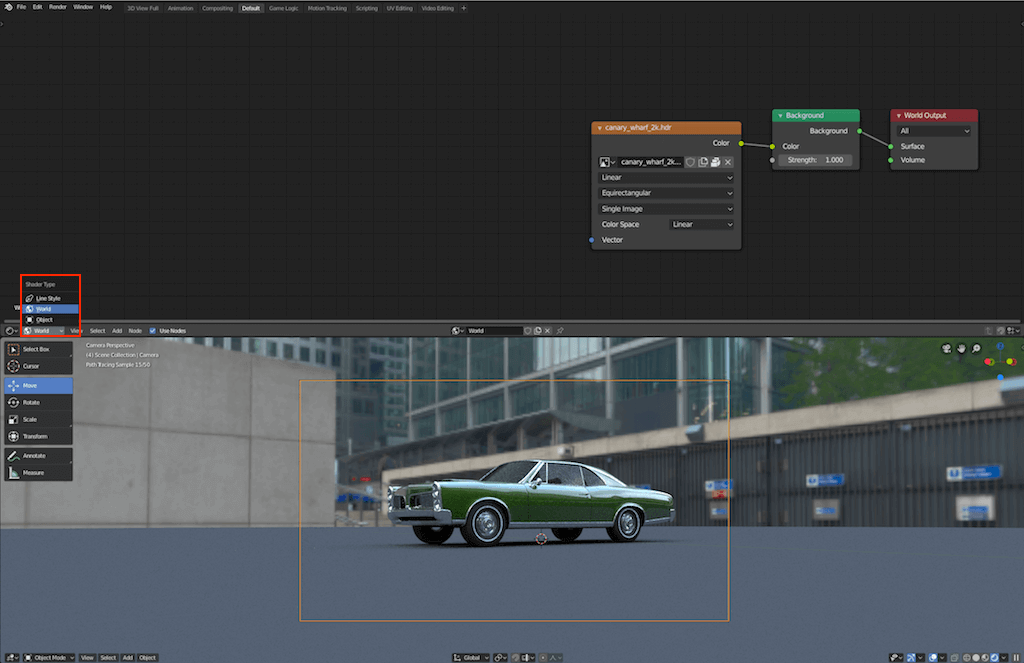
Add Background from the Surface drop-down menu.
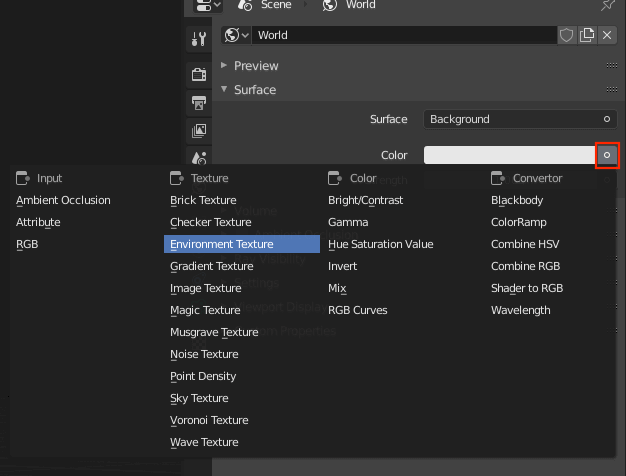
In the Color section, click the button on the right with a circle in the center and select ‘Environment texture.’ This will allow us to load HDRI environment maps from our hard drive.
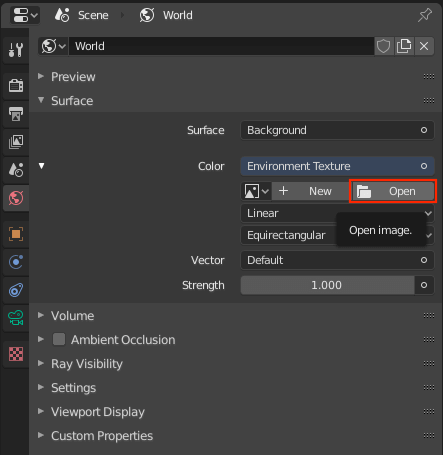
Next, click the Open button which will allow you to locate your HDRI texture in the file browser.
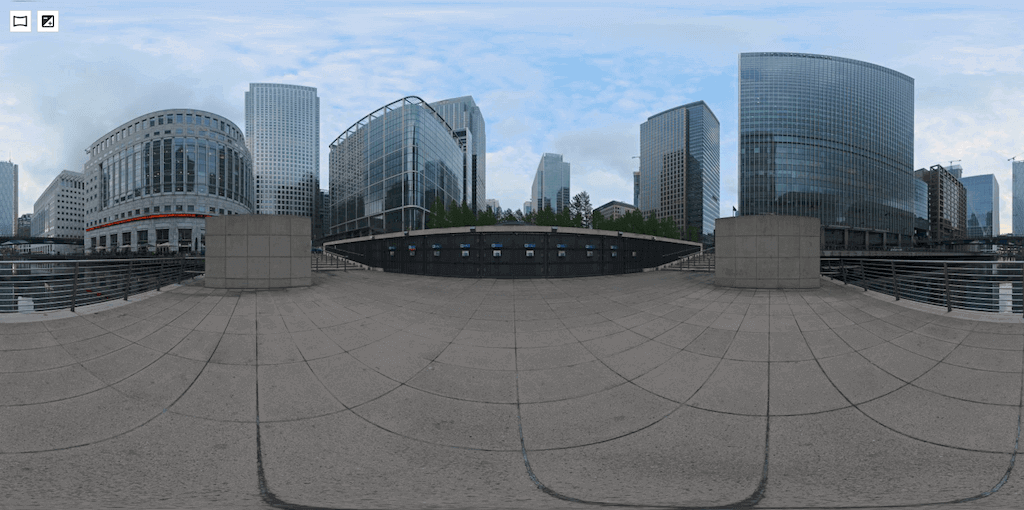
We’re using a free HDRI texture from HDRI Haven which can be found here.
In your scene, hit Z key and select the Rendered View. Your HDRI map should now be lighting your scene.
Tip: If your HDRI map is showing block colors try pressing 5 key on your keyboard as you may be in Orthographic view.
Adjusting the HDRI Environment Texture
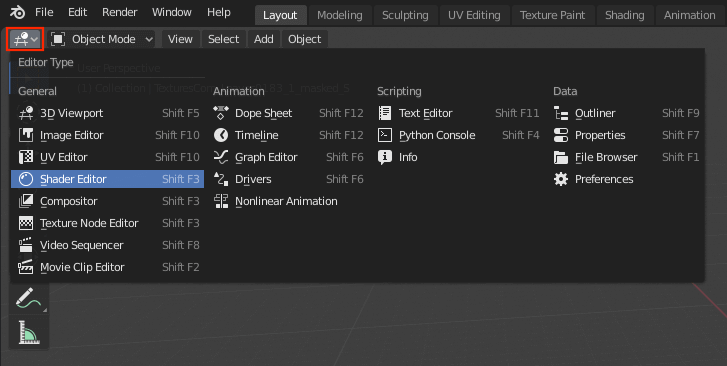
In the event that you will need to adjust the HDRI map to fit into your scene, we’ll need to edit the Environment’s node structure. Henceforth, adjust it’s location and size in our scene. From the Editor Type menu select the Shader Editor.
In the Shader Type menu select World, this will allow us to edit the world shader nodes.
Finally, we need to add a Mapping and Texture Coordinate node. This will allow us to adjust the scale and location of the HDRI texture to better suit our scene. Hence, use SHIFT + A keyboard shortcut and select Input → Texture Coordinate. Likewise, we now need to add a Mapping node to our node setup, use SHIFT + A again and select Vector → Mapping.
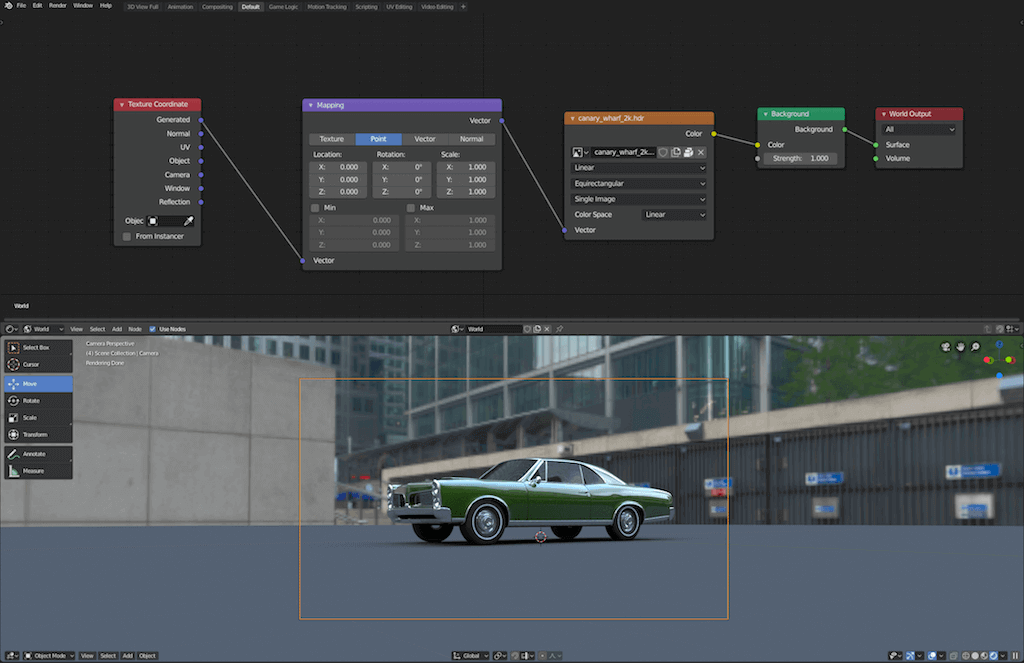
Although we’ve made changes to the environment map’s nodes, you will notice no change. However, we now have the ability to change the environment maps’ location, rotation and scale through the mapping node’s settings.
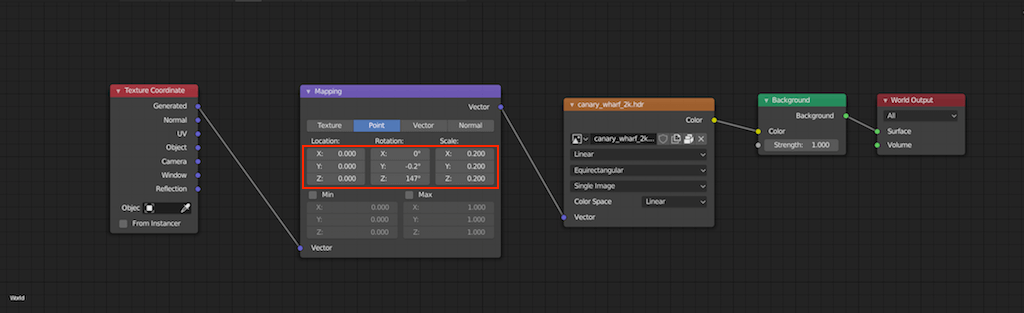
Furthermore, you can also change the environment maps’ strength from the Color setting in the Background node. Of course, the strength setting will determine how much light the environment map emits.

Transparent HDRI Environment Map
You may not want the environment map to show up in your render for compositing but still emit light information. Likewise, in the Render Tab settings, under Film drop down menu select Transparent.
If this post was helpful, please consider becoming a email subscriber 💌 and help support future content. 🠗🠗